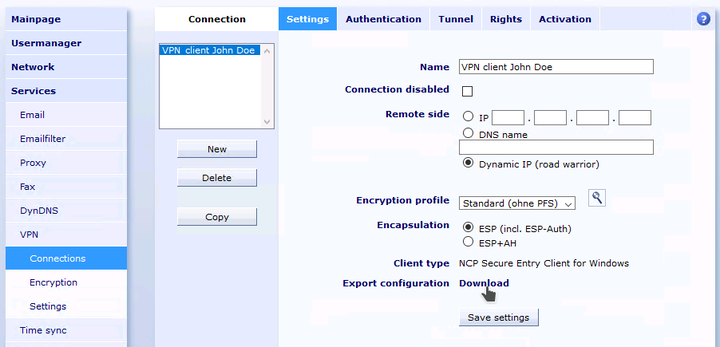
For most VPN client programs, the Intra2net system can generate ready-to-use configuration files directly from the VPN configuration on the Intra2net system. These files only have to be imported on the client. Proceed as follows:
Go to the menu "" and create a new connection. Select the type "".
Select the VPN client software. If the type is to be changed later, the connection configuration must be created again.
Give the connection a meaningful name, e.g. the name of the employee or device that is to connect. If an employee has several devices that should be able to establish VPN connections, you need a separate connection configuration for each device.

Select the local network to which the VPN client should establish the connection.
With most client types you have the choice here whether only the packets into a designated network should run through the VPN tunnel, or whether all connections from the client, to the local networks and the Internet, should run through the VPN tunnel and the Intra2net system. For the latter, select "" the option "", for all other cases the desired network.
For connections from iOS and Android clients, you must select a user account that will be used for XAUTH login. The user must be in a group that has the permission "".
Next, enter the password to be used to protect the private key.
The connection is then automatically created and the appropriate configuration file is provided for the client. Save this file and transfer it to the client.
Import the configuration file on the client. The steps required for this are explained in the following chapters.
If necessary, you can re-export the configuration for the client later using the "" link.

The password for the client's private key, which must be entered by most clients each time a connection is established, is not stored on the Intra2net system. If you want to change the password, you simply need to re-export the configuration for the client.